

Choose a chest print when you want visibility and bold branding, since a centered chest graphic reads clearly from across a room. Choose a sleeve print when you want a subtler accent, smaller artwork, or a design that works alongside a main chest graphic. Chest prints cost more to produce at larger sizes and need more care during washing, while sleeve prints are cheaper to test and gentler on the fabric. We build our heavyweight tees and hoodies with both placements in mind.
TL;DR:
- Larger chest prints with multiple colors require longer setup times, increasing per-unit costs on small production runs.
- Sleeve prints are better suited for simple, single-color designs to ensure clarity and durability on curved and high-friction surfaces.
- Heavyweight fabrics better preserve large chest graphics, while lightweight blends may distort or pucker, especially on stretch or fitted garments.
- Embroidery provides superior durability for sleeve accents but is less practical for complex or multi-color designs.
- Accurate measurement and mockups before production are essential to achieve balanced, visually appealing placement on both chest and sleeves.
Table of Contents
- Quick Comparison: Pros and Cons of Chest and Sleeve Prints
- Design Factors That Determine the Best Placement
- How Printing Method and Finish Shape Your Placement Choice
- Practical Mockups and Exact Measurement Guidelines
- Why We Build Our Garments Around These Placement Rules
- What Drives Customer Placement Choices
- Limitations and Challenges in Sleeve vs Chest Printing
- How Placement Affects Comfort and Wearability
- Keeping Print Quality Sharp on Sleeves and Chest
- The Measurement-First Approach Beats Guesswork
- Matching Our Products to Your Placement Choice
- FAQ
- Selected Further Reading and Partner Resources
Quick Comparison: Pros and Cons of Chest and Sleeve Prints
A chest print is the first thing anyone sees when you walk into a room, which makes it the default choice for logos, slogans, and statement art. A sleeve print works more like an accessory: it rewards a second look and suits smaller marks, dates, or cultural symbols that do not need to dominate the garment.
Design detail scales differently by placement. Chest space allows for multi-color artwork, gradients, and fine linework because there is enough surface area to hold detail without crowding. Sleeve space is narrow and curved around the arm, so artwork needs to stay simple: a single icon, a short word, or a geometric pattern reads far better than a crowded illustration.
Cost and complexity shift with size and technique, not just placement. A small sleeve patch is often the cheapest item on a print order because it uses less ink or thread and takes less machine time. A large chest print, especially one with several colors, takes longer to set up and print, which adds to the per-unit cost on small runs.
- Chest prints win on visibility, brand recognition, and room for detailed artwork.
- Sleeve prints win on subtlety, lower cost per unit, and faster production turnaround.
- Combining both works when the chest carries the main design and the sleeve carries a small complementary mark, like a date, initials, or a cultural symbol.
- Durability favors sleeve prints slightly, since the sleeve folds less during wear and wash than a chest print stretched across the torso.
Combining chest and sleeve prints works best when the two elements serve different jobs: the chest makes the statement, and the sleeve adds a detail that rewards a closer look. Think of a brand emblem on the chest paired with a small heritage symbol on the sleeve cuff. That pairing is common in streetwear because it lets a single garment carry both a bold identity and a personal touch without the design feeling cluttered.
Design Factors That Determine the Best Placement
Getting the placement right starts with matching your artwork’s scale to the garment’s proportions. A print that looks balanced on a flat design file can look oversized or lost once it is on a body.
- Chest print width and height: for adult sizes S through XL, a centered chest print typically runs in a range that balances visibility and proportion, scaling appropriately for larger sizes so the design keeps the same visual weight relative to the shoulders.
- Sleeve patch dimensions: sleeve accents work best within a moderate size range that avoids awkward wrapping around the arm’s curve, whether round, square, or rectangular.
- Artwork complexity: fine text or thin linework under 3 millimeters thick tends to blur or crack during printing and washing, so simplify small details before sizing down for a sleeve.
- Garment fit and fabric stability: a looser, heavier fabric holds a large chest print flatter over time, while a fitted sleeve on a stretch fabric needs a smaller, more flexible print area to avoid cracking at the seam.
Fabric weight matters as much as the print technique itself. A heavyweight cotton tee holds its shape under a large chest print better than a lightweight blend, which can pucker or distort once the ink or thread tension sets in. That’s one reason heavier fabrics are common in streetwear where bold front graphics are the centerpiece.
Pro Tip: Print a paper template at your target size and pin it to the actual garment before finalizing any file. It takes two minutes and catches proportion problems no screen mockup will show you.
Garment type also pushes the decision one way or another. A hoodie’s front pocket and drawstrings compete for space with a chest print, so designs often sit slightly higher than on a tee. A sleeve on a hoodie is usually wider and more padded than a t-shirt sleeve, which gives a bit more room for a patch-style design without it looking cramped.
How Printing Method and Finish Shape Your Placement Choice
The printing technique you choose changes what’s realistic for each placement, sometimes more than the design itself does.
- Screen printing handles large, bold chest designs well with crisp color separation, but setup costs make it inefficient for small sleeve patches ordered in low quantities.
- DTG (direct-to-garment) printing is strong for detailed, full-color chest artwork and photographic designs, though fine detail can soften slightly on tightly curved sleeve fabric.
- DTF (direct-to-film) transfers work well on both placements and hold color vibrancy, making them a flexible choice when a design needs to move between chest and sleeve without changing technique.
- Heat transfer vinyl is reliable for simple sleeve graphics and text but can feel stiff over a large chest area, especially on heavyweight fabric.
- Embroidery is the strongest option for small sleeve accents since stitched logos and icons hold their shape through repeated washing far better than printed ink on a high-friction area like the sleeve.
Color registration gets trickier as the print area narrows. A sleeve’s curve and smaller surface make it harder to keep multi-color designs aligned, which is why simpler one or two-color sleeve patches tend to come out cleaner than complex gradients squeezed into the same space.
Care and durability expectations also differ. A chest print on a heavyweight fabric generally holds up through regular washing better than a thin tee, while a sleeve print or embroidered patch faces more abrasion from arm movement, bag straps, and sleeve rolling. Embroidery or applique work is often preferable for sleeve accents specifically because stitched thread resists the fraying and cracking that printed ink shows after repeated wear in that high-contact zone.
Practical Mockups and Exact Measurement Guidelines
Before placing an order, it helps to have a repeatable process for checking size and placement rather than guessing from a flat design file.
- Set your chest print width within a size range appropriate to adult sizes, measuring from the garment’s actual flat width rather than a generic template.
- Set sleeve patch size within a moderate range, centered a measured distance below the shoulder seam so it sits comfortably above the bicep.
- Check placement distance from the collar: a standard chest print starts roughly 7 to 10 centimeters below the collar seam to avoid crowding the neckline.
- Prepare your file at 300 DPI in CMYK color mode for print, with a bleed of at least 3 millimeters and a safe area that keeps critical text or logos 1 centimeter inside the trim line.
- Run a physical mockup by printing your design on paper at full size, cutting it out, and laying it on the actual garment under natural light before committing to a production run.
- Run a fast digital mockup using a flat-lay photo of the garment and your design layered in any basic photo editor, which takes under ten minutes and catches obvious scale errors.
A common rule of thumb among print shops is to keep adult chest prints within an approximate size range for standard t-shirt sizes, which balances visibility with enough margin to avoid the print folding into the side seams during wear, according to DTG and screen printing method comparisons.
Why We Build Our Garments Around These Placement Rules
These placement guidelines reflect decisions we make directly in our own product line. As Afro Urban Apparel, we focus on streetwear that fuses traditional African cultural elements with modern design, built for everyday wear rather than occasional use, which means prints need to survive regular washing and daily movement, not just look sharp on day one.
Our heavyweight tees and hoodies are built with fabric stability in mind, so a chest print sized within the ranges above holds its shape wash after wash instead of warping at the edges. Feedback about quality fabric and bold, culturally rooted designs shapes how we size and place prints.
If you’re planning a custom order, we recommend requesting a mockup with your exact measurements before production so you can see proportions on the actual garment style you’re choosing, whether that’s a tee for a clean chest statement or a hoodie built for a sleeve accent.
What Drives Customer Placement Choices
Most buyers gravitate toward chest prints when the goal is recognition: a logo, a cultural symbol, or a slogan meant to be seen immediately. That instinct makes sense for anyone wearing a piece as a statement of identity rather than a background layer.
Sleeve placement tends to appeal to a different kind of buyer, someone who wants a design to feel personal rather than loud. A small sleeve mark, like an initial, a date, or a symbol tied to heritage, works as a quieter signal meant for people who look closer rather than everyone in the room.
Layering both placements on one garment is increasingly common among buyers who want a primary design up front and a secondary detail that rewards attention, which is part of why pairing a chest graphic with a sleeve accent has become a familiar choice in streetwear built around cultural identity.
Limitations and Challenges in Sleeve vs Chest Printing
Chest printing runs into trouble on garments with pockets, zippers, or drawstrings that compete for the same surface area, which forces designers to shrink or shift the artwork away from true center. Larger chest designs also stretch and distort faster on fitted or stretch-blend fabrics, since the chest area moves more during normal activity than other parts of the garment.
Sleeve printing faces its own constraints. The curved, narrow surface limits how much detail a design can hold before it becomes illegible, and the sleeve’s high-friction zone, from bag straps, elbows resting on surfaces, and constant arm movement, wears down prints faster than a stationary chest area. Embroidery solves some of that durability problem but adds cost and isn’t practical for highly detailed or multi-color artwork.
Both placements also run into alignment issues during the printing process itself, since even a slight shift in registration is more visible on a sleeve’s small surface than it would be across a wider chest area.

How Placement Affects Comfort and Wearability
A chest print made from thick ink or a dense embroidery panel can feel stiff against the skin, especially on thinner fabrics where the printed area doesn’t stretch the same way as the surrounding cotton. That stiffness becomes more noticeable the larger the print gets.
Sleeve prints sit closer to a joint that bends constantly, so a thick or poorly placed patch can feel restrictive during arm movement, particularly on fitted sleeves. A heavier fabric with some give, like the fabric we use across our streetwear line, tends to reduce that stiffness and lets the print move with the body instead of against it.
Breathability also shifts with print size. A large chest print made with a non-breathable ink or backing can trap heat over a wider area, while a smaller sleeve print barely affects airflow at all, which is part of why sleeve accents are a popular choice for warmer climates or lighter layering.
Keeping Print Quality Sharp on Sleeves and Chest
Print longevity depends more on care habits than on placement alone, but the two placements do wear differently. Turning a garment inside out before washing reduces direct friction on both chest and sleeve prints, and washing in cold water slows down the cracking that heat and agitation cause over time.
Chest prints benefit from air drying flat rather than hanging, since the pull of gravity on a wet, heavier print can stretch the design slightly out of shape. Sleeve prints and embroidered patches hold up better when they avoid tumble drying altogether, since the friction against other garments in the dryer accelerates fraying at the patch edges.
Ironing directly over a print, on either placement, is one of the fastest ways to crack or melt an otherwise durable design, so ironing inside out or avoiding the printed area entirely extends the life of the garment significantly.
The Measurement-First Approach Beats Guesswork
Most placement advice online treats chest and sleeve prints as a style preference, skipping past the measurements that actually determine whether a design looks intentional or amateurish. That’s backwards. A well-chosen placement with the wrong proportions still looks off, while a modest design sized correctly for its garment reads as polished.
The conventional wisdom overrates artwork complexity and underrates fit testing. A striking design file means little if nobody pins a paper template to the actual garment before production. That five-minute step catches more problems than any amount of extra detail work in a design program.
If you take one thing from this guide, prioritize measurement over instinct: know your chest width range, your sleeve patch size, and your garment’s fabric weight before you commit to a technique or a final file. The rest, color choice, technique, and style, follows naturally once the proportions are right.
— Kebz
Matching Our Products to Your Placement Choice
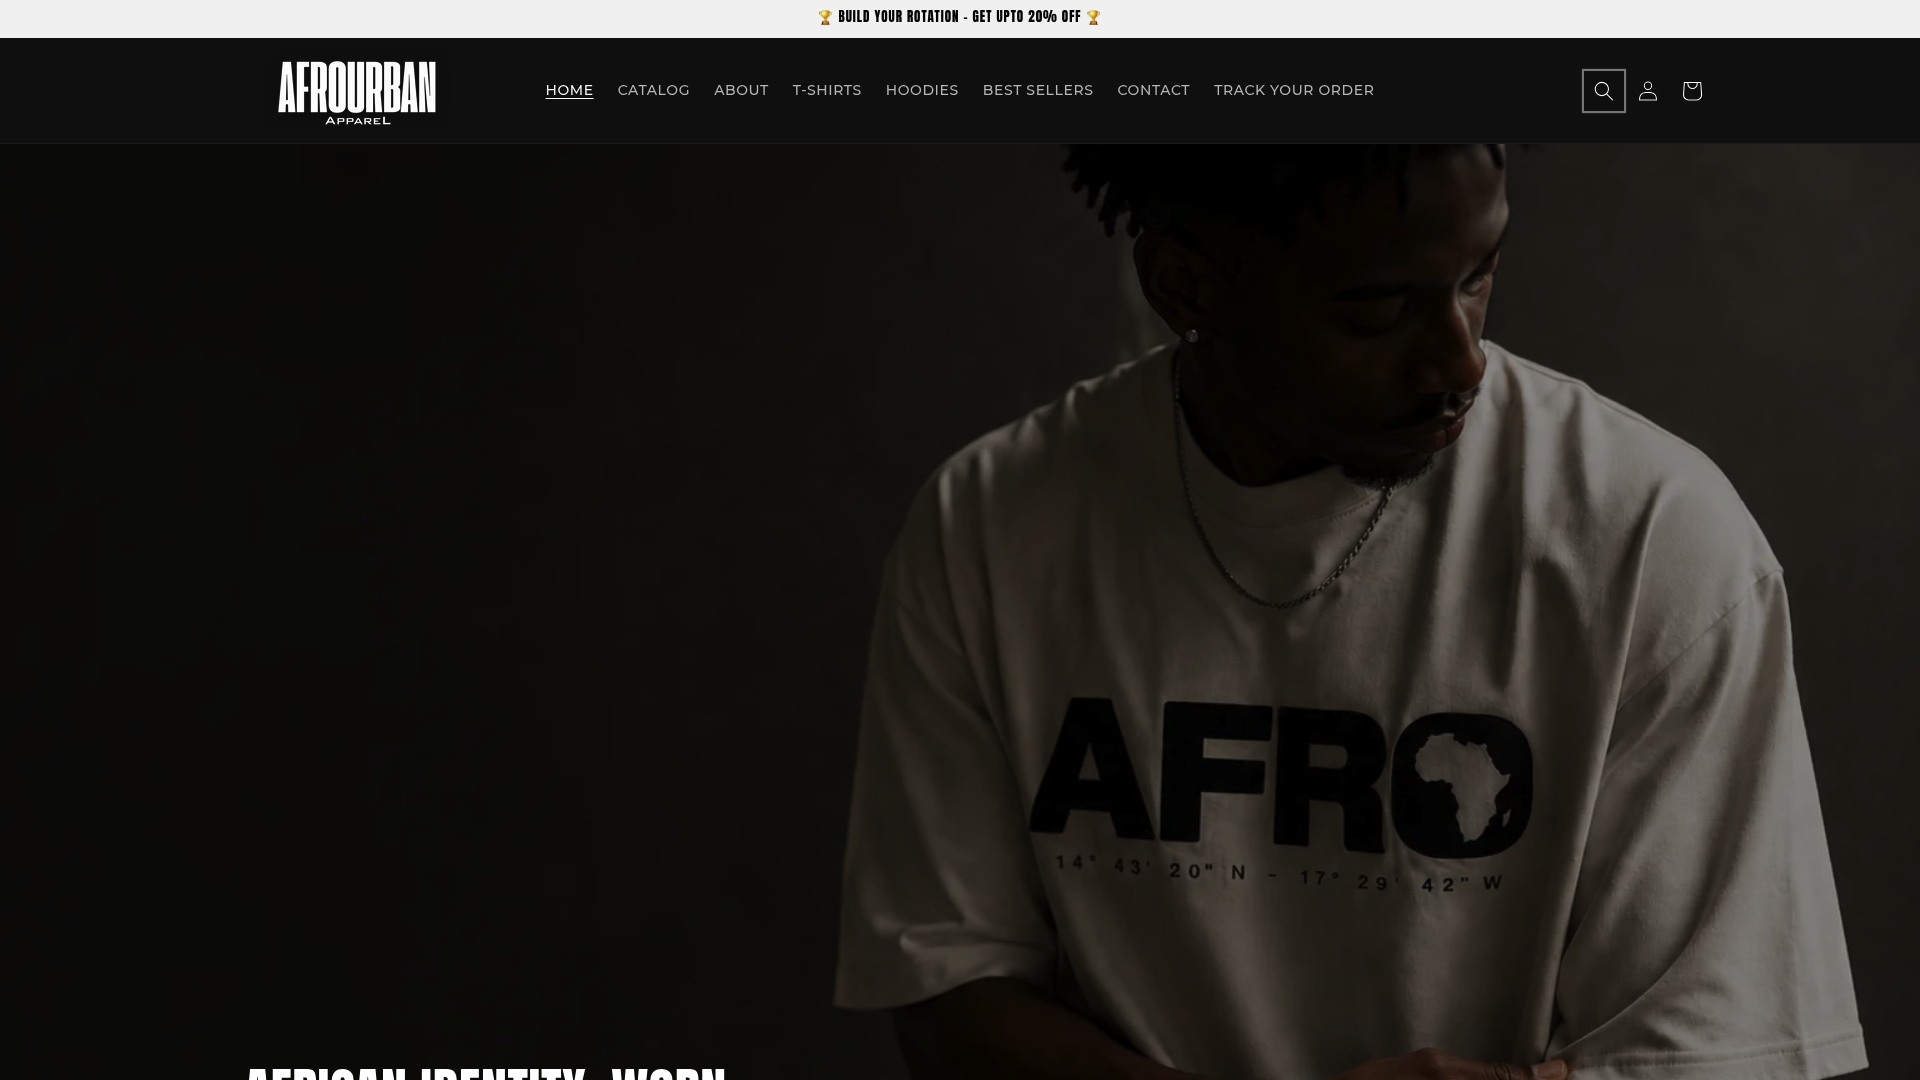
Heavyweight tees from our Tshirts collection give a centered chest print room to breathe and hold its shape through regular wear, which makes them the straightforward pick for bold front designs. Our Hoodies collection offers more surface area for larger front graphics and sleeve space wide enough for embroidered accents that need to survive daily movement.
- Request a mockup with your exact chest or sleeve measurements before ordering.
- Specify whether you want screen printing, embroidery, or another finish so we can confirm what suits your design.
- Choose a heavyweight tee for a clean chest statement or a hoodie when you want both a front design and a durable sleeve detail.
Browse the collections above and send us your measurements to get a mockup started.
FAQ
¿Cómo se le llama a la impresión en ropa?
This process is generally called garment printing or apparel printing, covering techniques like screen printing, direct-to-garment (DTG), direct-to-film (DTF), heat transfer, and embroidery. The right term depends on the specific method used to apply the design to the fabric.
¿Cuál es la mejor técnica para imprimir camisetas?
There isn’t a single best technique, since the right choice depends on design complexity, order size, and budget. Screen printing suits bold designs at larger quantities, DTG and DTF work well for detailed full-color artwork in smaller runs, and embroidery holds up best for small, simple accents like sleeve patches.
¿Cuál es el mejor estampado para poleras?
A centered chest print sized within an approximate range for adult sizes tends to look the most balanced, especially for bold logos or statement graphics meant to be seen clearly. Heavyweight fabric, like what we use across our streetwear line, helps that print hold its shape through repeated washing.
¿Cómo puedo imprimir una imagen para ponerla en una playera?
Start with a high-resolution image file, ideally 300 DPI in CMYK color mode, sized to your target print area with a small bleed margin. From there, choose a printing method, screen printing, DTG, or heat transfer are the most common for individual designs, and confirm placement measurements before production.
Selected Further Reading and Partner Resources
For a closer technical look at how printing methods affect detail and durability, this comparison of DTG and screen printing breaks down when each method suits small versus large print areas. When you’re ready to shop placements built for everyday wear, our full collections page covers every product line we offer.